bg eraser vs photoshop for faster cutouts
The right choice in bg eraser vs photoshop depends on whether you need a quick subject cutout or detailed control over every edge, layer, and correction.
Three mechanisms behind the choice
These related routes explain where automatic background removal fits, when batch work matters, and how to judge the result before committing to a tool.
Choose and edit step by step
A simple decision process keeps you from opening a full editor when a clean cutout is enough, while preserving a path to deeper retouching when it is not.
-
1
Define the finish
Decide whether the final image needs only a transparent subject, a new background, or a layered composition with several edits. A transparent cutout points toward a focused eraser workflow; a designed composition points toward Photoshop.
-
2
Test the difficult edge
Use one representative image first, especially one with hair, thin objects, shadows, glass, or a low-contrast outline. Inspect the boundary at a useful zoom instead of judging only the thumbnail.
-
3
Keep or refine
If the automatic result is clean enough, export it and continue in your normal design tool. If the edge needs repeated manual corrections, switch to a layer-based editor or use both tools in sequence.
What changes in practice
The comparison is less about a universal winner and more about which kind of control your image actually needs.
- 1 Focused subject isolation
- Cutout
- 2 Detailed compositing and revision
- Layers
- 3 The key quality check
- Edges
- 4 Choose speed or control
- Workflow
See the cutout difference
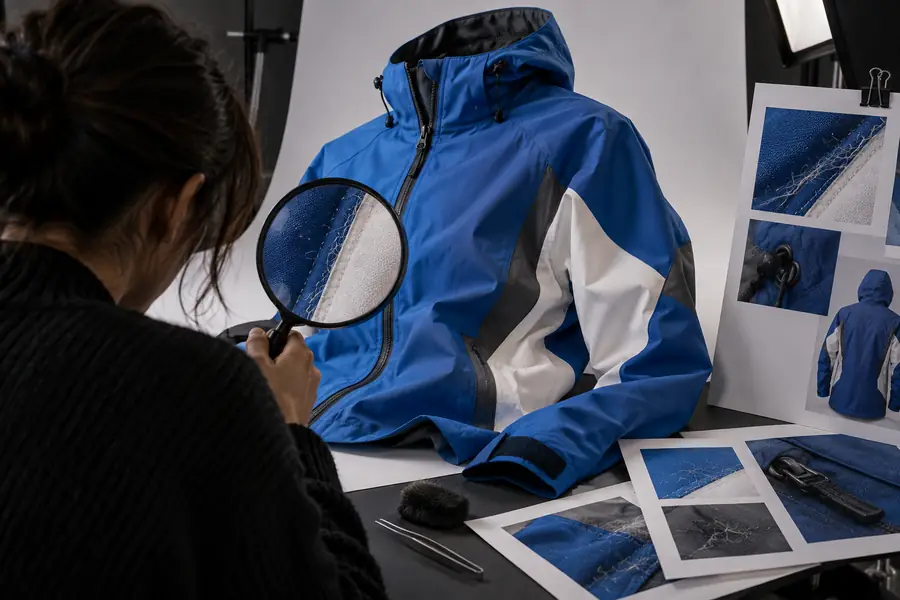
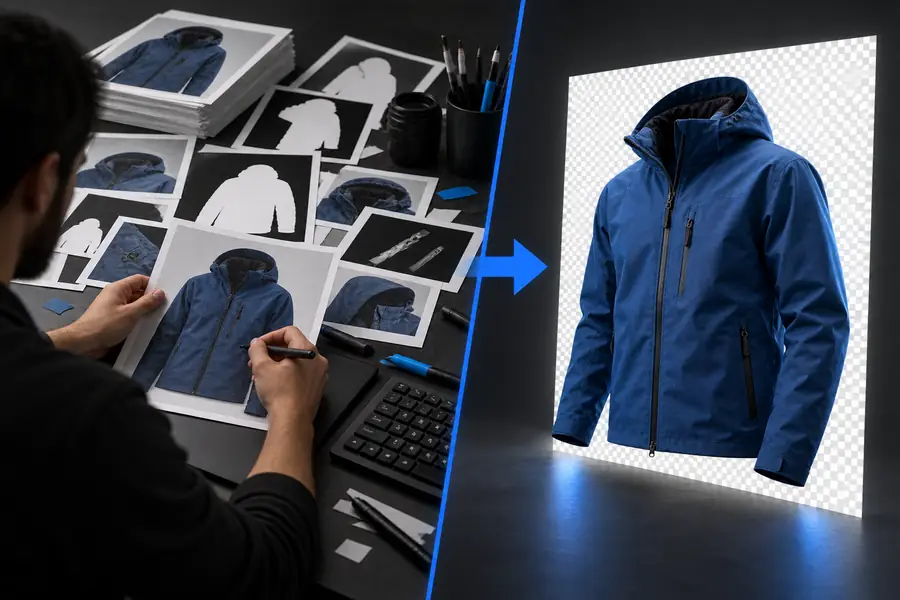
A practical comparison starts with the boundary. Look for preserved shape, clean negative space, and a result that can sit naturally on a new background.
- Original image
- Background removed
Inspect the subject edge before judging the whole image.
Limits and edge cases
An automatic eraser is useful, but it is not a substitute for every Photoshop operation. Knowing the boundaries prevents avoidable cleanup and mismatched expectations.
-
Fine hair and transparent details
Loose hair, veil fabric, smoke, glass, and translucent objects can produce uncertain edges because the subject and background share pixels.
WorkaroundTest a difficult sample first and refine the result in a layer-based editor when individual strands or transparency are essential.
-
Complex compositions
A focused eraser is designed around separating a subject from its background, not arranging typography, masks, adjustment layers, filters, or multiple objects.
WorkaroundUse the cutout as one stage, then place it into Photoshop or another editor for the composition work.
-
Pixel-level retouching
Removing a background does not automatically correct color spill, repair damaged details, remove reflections, or retouch skin and product surfaces.
WorkaroundReserve a final cleanup pass for the editor that offers the brush, clone, mask, and tonal controls you need.
-
Batch consistency
Several images may contain different lighting, poses, crops, and backgrounds, so one result does not guarantee identical edges across a whole set.
WorkaroundGroup similar images, check representative samples, and use a bulk workflow when the project requires repeated processing.
Side-by-side workflow
The table below separates the focused job of removing a background from the broader job of editing an image from start to finish.
BG eraser
Photoshop
Primary purpose
BG eraser
Separate a visible subject from its background
Photoshop
Edit, compose, retouch, and design with layered tools
Starting effort
BG eraser
Usually begins with an image and a focused removal task
Photoshop
Requires choosing tools, layers, masks, or selections
Manual control
BG eraser
Limited to the controls provided for the cutout workflow
Photoshop
Extensive control over selections, masks, brushes, and layers
Layered composition
BG eraser
Not the central purpose of the workflow
Photoshop
Built for combining subjects, backgrounds, text, and effects
Edge refinement
BG eraser
Useful for a quick result, with difficult cases needing review
Photoshop
Supports detailed manual refinement and mask editing
Learning curve
BG eraser
Smaller when the task is only background removal
Photoshop
Broader because many editing concepts and tools are available
Best fit
BG eraser
Product cutouts, profile images, simple graphics, and quick replacements
Photoshop
Campaign artwork, composites, retouching, and repeatable layered files
Revision model
BG eraser
Efficient when the desired result is a clean isolated subject
Photoshop
Strong when the file must remain editable across many decisions
Choose the lighter editing path
Start with the narrowest tool that matches the job. If you need a clean subject cutout and little else, a focused background eraser can reduce the steps between your source image and a usable transparent result. If the image is part of a larger composition, keep Photoshop available for masks, layers, retouching, and controlled revisions.
Edit an image- Use a focused eraser for straightforward subject isolation.
- Use Photoshop when layers, retouching, or compositing are central.
- Test the hardest edge before processing an entire image set.
Frequently asked questions
A focused bg eraser is usually the simpler choice when the main goal is to isolate a subject quickly. Photoshop is stronger when the cutout is only one part of a larger edit involving masks, layers, retouching, or compositing.
It can replace Photoshop for some straightforward background-removal tasks, but not for the full range of layered editing and design work. The best choice depends on whether you need an isolated subject or a fully editable composition.
Photoshop offers more manual control, so it can be more precise when you are willing to refine selections and masks. Accuracy still depends on the source image, the edge complexity, and the care used during cleanup.
Inspect hair, thin edges, shadows, transparent areas, and regions where the subject meets a similar-colored background. Place the cutout against a contrasting background so halos, missing details, and rough edges are easier to see.
Yes. A practical workflow can use an automatic eraser for the initial separation, then Photoshop for edge refinement, color correction, retouching, or final composition. This keeps the repetitive first step separate from the detailed finishing work.