Before and after
Explore bg eraser examples free for everyday photos
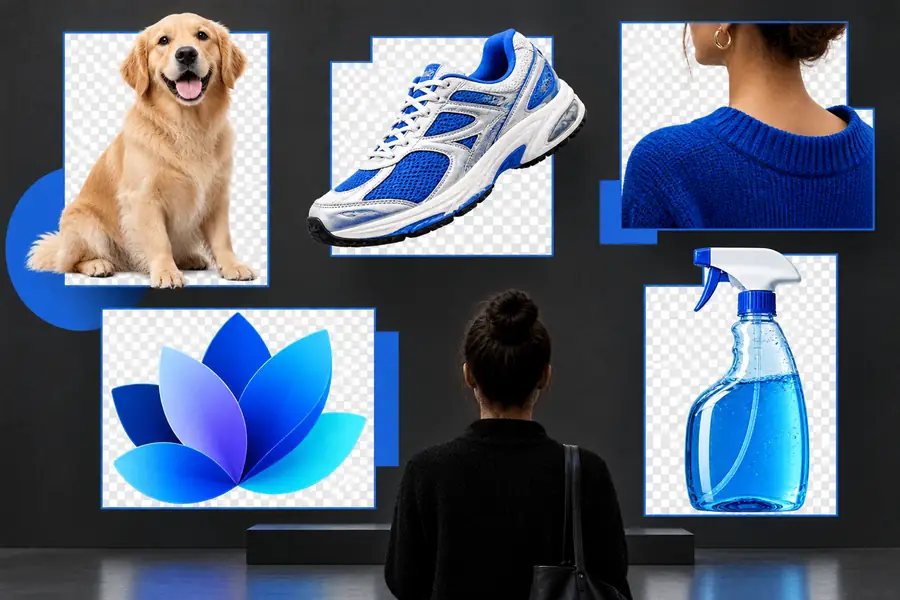
These bg eraser examples free you to compare a busy original with a cleaner cutout before deciding how to edit your own photo. Look closely at the subject’s outline, not just the empty space around it: a convincing result keeps natural details while removing distractions.

Three routes from inspiration to an edit
An example shows the intended look, but the right workflow depends on where you edit and what you expect to keep.
Limits and edges worth inspecting
A free example can demonstrate an idea, but it cannot prove that every source photo will produce the same result.
-
Hair is not a solid outline
Flyaway strands can disappear into the old background or leave a visible halo. A small preview may hide both problems, especially when the replacement background is a similar color.
WorkaroundInspect the cutout against both light and dark backgrounds, then refine the edge if the chosen editor allows it.
-
Transparent does not mean finished
A subject photographed against a dark wall may retain dark reflections or shadows after the wall is removed. That can look unnatural on a white page.
WorkaroundCheck the lighting and add an appropriate background or shadow during the final composition.
-
An example does not establish usage rights
A visible sample is not automatically yours to publish, and a tool’s free access does not establish commercial rights or an unrestricted export.
WorkaroundUse your own photograph and review the applicable image license and tool terms before publishing.
Step by step, from source photo to cutout
Treat a bg eraser result as the start of an image-editing decision, not an automatic final asset.
-
1
Choose a readable source
Start with a photo where the subject is reasonably distinct from its surroundings. A sharply focused portrait with space around the head is easier to assess than one with hair blending into foliage.
-
2
Compare the outline
View the original beside the cutout at a useful size. Check hair, shoulders, glasses, and gaps between arms; these areas reveal missing details and leftover background more reliably than a thumbnail does.
-
3
Place it in context
Test the result on the background where it will actually appear. A cutout that looks fine on a checkerboard may need edge cleanup or lighting adjustments on a solid-colored card.
A portrait before and after
This pair makes the intended change visible: keep the person, remove the photographed surroundings. Judge the edge as carefully as the overall effect.
- Original portrait
- Background removed
The images illustrate a portrait use case, not a guarantee that every photograph will yield the same edge quality or export options.

What changes, and what still needs attention
Use this side-by-side checklist when judging bg eraser examples rather than assuming that an empty background alone means a successful edit.
Original photo
Cutout to review
Surroundings
Original photo
The photographed setting remains visible.
Cutout to review
The original surroundings should no longer distract from the subject.
Subject
Original photo
The person appears in the context of the scene.
Cutout to review
The person should remain recognizable and intact.
Hair
Original photo
Fine strands blend naturally with the scene.
Cutout to review
Fine strands need an edge check for missing detail or halos.
Open spaces
Original photo
Background may show between arms or around accessories.
Cutout to review
Those enclosed gaps should be checked for leftover background.
Lighting
Original photo
Shadows and reflections belong to the original scene.
Cutout to review
Old lighting may need adjustment to suit a new setting.
Next use
Original photo
Suitable when the location is part of the story.
Cutout to review
Useful for a new layout once edges, rights, and export are checked.
Put the example to work on your image
Try a cleaner composition
Use the portrait comparison as a visual checklist for your own project. Before committing to an editor, verify its current access terms, available controls, and output options; then inspect your result at the size where people will see it.
Explore image tools- Keep a copy of the original photo
- Check fine edges on contrasting backgrounds
- Confirm rights before publishing
FAQ about background eraser examples
Compare the original and edited image at more than thumbnail size. Look for intact hair and accessories, clean spaces between limbs, and an outline that does not carry a colored halo from the old scene.
No. An example can be visible without being licensed for reuse or offered as a downloadable file. Check the image’s license and use your own photo when you need a publishable result.
Results depend on the source image, including focus, contrast, lighting, and how much the subject overlaps the background. A sample with a clear outline is not a reliable prediction for a photo with fine hair against a similar-colored wall.
Not necessarily. Transparency is useful when you plan to place a subject into another design, but the subject may still need edge cleanup, a suitable shadow, or a new background. For some images, keeping the original setting tells the story better.
Examples show what an edit might look like; they do not establish a tool’s current access terms. Check the destination’s terms and export options before starting work you need to finish or publish.