
Image editing guide

How to choose: bg eraser vs background remover

The bg eraser vs background remover distinction is less about the final image than how you get there. One term often suggests targeted cleanup; the other often describes removing the whole backdrop. Tool names vary, so judge the actual workflow and inspect the result.

Bgeraser image-editing visual

Choose by the work your photo needs, not by the label on the tool.

Three mechanisms behind a cutout

Different editing controls can lead to a similar-looking result, but they give you different ways to fix a mistake.

  1. 1

    Identify the subject

    A background remover typically begins by estimating which pixels belong to the subject and which belong to the scene. The useful test is whether it keeps the whole subject: check hair, loose clothing, translucent objects, and gaps between arms. The words on the button do not tell you how well this separation will work on a particular photo.

  2. 2

    Erase or restore an area

    A bg eraser may offer a way to clear remaining background patches or recover parts of the subject that were removed. Some tools use a brush, while others offer selection or refinement controls; availability depends on the actual product. Work at a comfortable zoom and make small corrections around the outline rather than assuming the first pass is final.

  3. 3

    Review the edge and destination

    Both approaches need a final visual check. An outline that looks fine on white can show a pale halo on a dark background, while a solid-color export can hide whether transparency survived. Preview the cutout against a contrasting color, then confirm that the saved result suits the place where you plan to use it.

Step by step, from photo to usable cutout

Start with the destination, test the boundary, and only then decide whether automatic removal or targeted cleanup deserves more of your time.

Marketplace seller

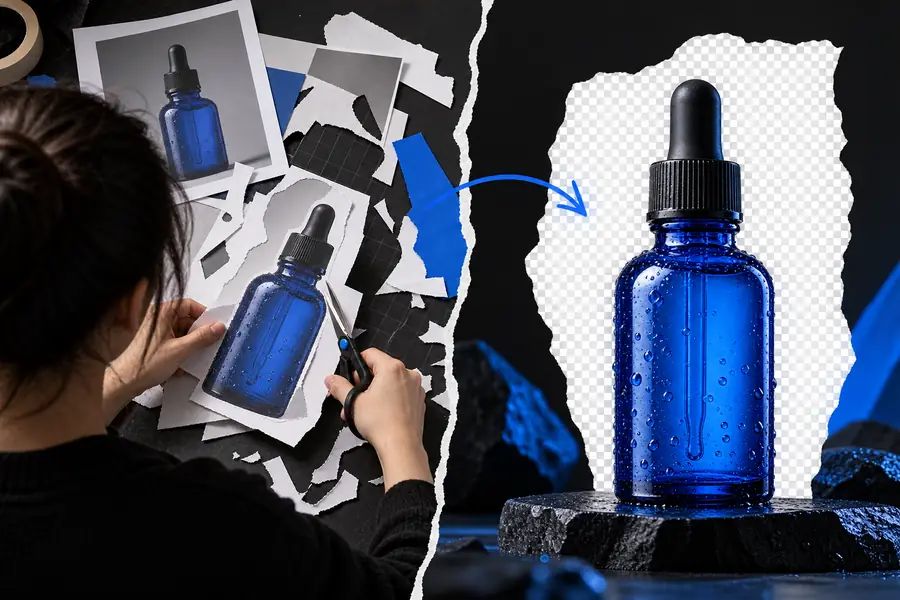
Start with one clear product photo and decide whether the listing calls for a plain backdrop or an isolated object. Run a background-removal pass, then look closely at handles, cords, reflections, and spaces inside the product. A bg eraser is useful as a way to think about the small corrections left behind.

The goal is a product outline that still looks like the photographed item, not a cutout that silently loses thin details.

bg eraser examples free

Portrait editor

Choose a portrait with visible separation from the background where possible. After the first cutout, put a contrasting color behind the person and inspect flyaway hair, glasses, and the space between the body and arms. If a section looks unnaturally sharp, revisit that edge rather than erasing more of it.

You can judge whether the automatic result is adequate or whether careful restoration matters more for this portrait.

What is a BG eraser?

Catalog manager

Test a few representative images before applying the same approach across a collection. Include easy studio shots and difficult items such as transparent packaging or pale products on pale backgrounds. Record which images need individual review; a single successful sample does not establish how the whole set will turn out.

The test helps separate repeatable background removal from exceptions that need hands-on edge cleanup.

bg eraser bulk

Browser-based creator

Check the intended use before uploading a photo to any online editor, especially when it contains people, private documents, or unreleased products. Make one cutout, inspect its boundary, and verify the available download options rather than assuming a particular format or transparency setting.

You finish with an image you have checked visually and a clearer sense of whether this workflow fits your needs.

background eraser online

Limits and edges worth checking

A clean-looking preview is not always a clean cutout. Inspect the outline before placing the image in its final design.

  • Original portrait
  • Background removed

Use this portrait pair to focus on the boundary, not to assume every photo will produce the same result. Hair against a busy scene, motion blur, similar subject and background colors, and translucent details can make separation harder. A bg eraser can help with local cleanup when controls are available, but deleting pixels aggressively may create holes or a harsh outline. If the destination uses a colored backdrop, preview against that color before deciding the edge is finished.

Smiling person photographed against the original background
Portrait shown as a cutout without the original background

Choose the workflow that fits the image

Start with a cutout, then judge the edge

The labels bg eraser and background remover overlap in everyday use. For a straightforward subject, try removing the backdrop and review the result. For a difficult boundary, look for a way to refine the selection or restore details before using the image. Bgeraser can point you toward an image-editing option; check its available controls and output choices for your own project rather than assuming every editing method is included.

Explore image editing
  • Check the subject outline
  • Preview on a contrasting background
  • Confirm the output suits its destination

Questions about erasing and removing backgrounds

The names overlap, but they can describe different emphases. Background remover commonly refers to separating a subject from the entire backdrop, while bg eraser may suggest clearing particular areas or refining what remains. Check the controls of the specific tool instead of relying on its name.

Neither label guarantees a better hair cutout. The original photo, the quality of the initial subject selection, and any available edge-refinement controls matter more. Preview the result on light and dark backgrounds to spot lost strands or a visible halo.

Yes, those are separate decisions in an editing workflow: first isolate the subject, then place it over the background you want. Check whether your chosen editor supports the replacement and output you need. If not, you may need to finish that step in another editor.

Correct the result when it removes part of the subject, leaves a patch of the old scene, or creates an edge that looks wrong in its final setting. Thin objects, translucent materials, and low-contrast boundaries are particularly worth reviewing. Make restrained changes and compare them with the original so cleanup does not erase real detail.

No. The displayed preview may have a plain color or a checkerboard, and available save options vary by tool. Inspect the downloaded image in the context where you intend to use it rather than inferring transparency from the preview alone.

Start creating
Start creating