Shop owner
A product has a handle, narrow gaps, and a shadow on the original surface.
Check that the handle remains intact and that removing the shadow will not make the item appear to float.
batch background editingPhoto cutouts
A background eraser online can help separate a person or object from a distracting scene. Start with a clear photo, then inspect the result closely before using it in a design. Bgeraser offers this guide to help you judge what makes a useful cutout.

A background eraser online is most useful when the source, subject edge, and intended destination are considered together. These steps give you a practical way to assess the result.
Pick a photo where the subject is in focus and visibly distinct from its surroundings. A bg eraser has a harder task when dark hair blends into a dark wall, an object is motion-blurred, or the background shows through transparent material.
Identify what should remain: the full object, a person from head to toe, or a particular detail such as a handle. If you are using a prompt-based image tool, say what background you want removed and which edges matter most.
Check the silhouette at a useful viewing size, especially hair, fingers, shadows, and reflective surfaces. Then preview the bg eraser result against the color or layout where you intend to use it; a halo can be easy to miss against white.
Once you know what your image needs, follow the guide that matches your next decision. Online access, batch work, and manual editing call for different checks.
An online bg eraser and a manual editor can serve the same goal, but they place the effort in different parts of the process. Neither approach guarantees a perfect edge.
Online cutout workflow
Manual editing workflow
Online cutout workflow
Begin with a source photo and a clear description of the desired subject.
Manual editing workflow
Open the source photo and decide which selection or masking method to use.
Online cutout workflow
Review the proposed separation and decide whether it is usable.
Manual editing workflow
Build and adjust the separation directly.
Online cutout workflow
Inspect fine strands for missing detail and leftover background color.
Manual editing workflow
Refine the mask around strands when close control is needed.
Online cutout workflow
Check whether partially visible background has been handled convincingly.
Manual editing workflow
Adjust transparency and reflected areas deliberately.
Online cutout workflow
Decide whether the cutout needs a shadow when placed elsewhere.
Manual editing workflow
Preserve or rebuild a shadow to suit the new setting.
Online cutout workflow
Preview against the intended layout and inspect the whole outline.
Manual editing workflow
Preview against the intended layout and inspect the whole outline.
The apparent success of a bg eraser depends on more than an empty background. Compare the original scene with the cutout, then look for a believable outline.
Examine hair, clothing contours, and any pale fringe around the subject. A good-looking preview does not replace checking the image against the background you plan to use.

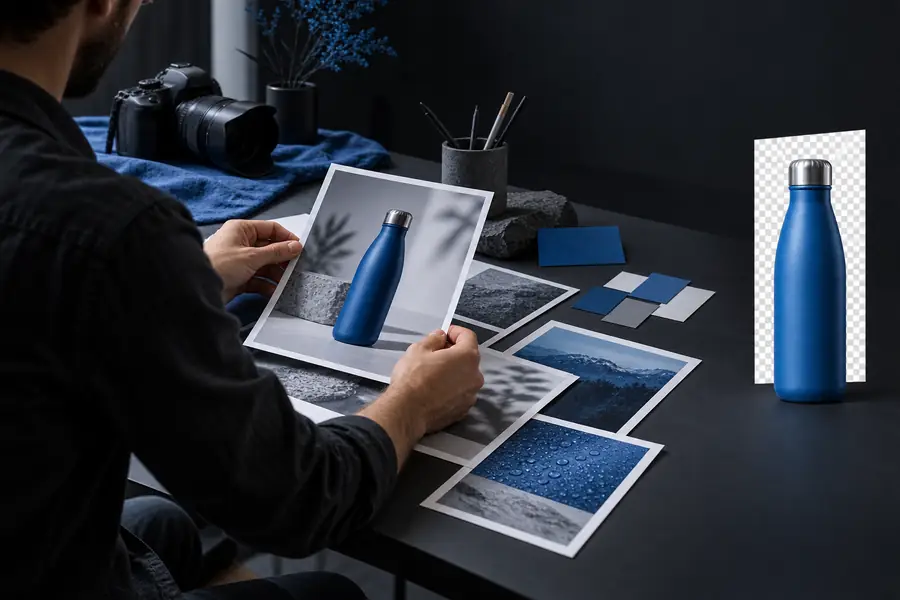
Different uses expose different mistakes. Decide what must survive the edit before choosing whether a quick bg eraser pass is enough.
A product has a handle, narrow gaps, and a shadow on the original surface.
Check that the handle remains intact and that removing the shadow will not make the item appear to float.
batch background editingA headshot must sit on a colored panel rather than its photographed backdrop.
Inspect fine hair and the outline of the shoulders against that exact panel color.
portrait cutout examplesA subject needs to fit into a layered composition with a convincing light source.
Use the bg eraser result as a starting point, then consider hands-on refinement for edges and shadows.
manual editing comparisonYou want to understand the edit before choosing a tool or preparing a photo.
Learn what background removal changes, what it leaves behind, and why source quality matters.
how a background eraser worksBring a clear source image and describe the subject you want to keep. After exploring an editing option, review the outline against its intended destination; that final check matters more than how quickly a bg eraser produces a preview.
Edit my imageStart with a photo that clearly shows the subject you want to keep. Describe or select the desired edit in the tool you choose, then inspect the resulting edge against the background where the image will appear.
Hair is challenging because individual strands can blend into the original background. Inspect both dark and light areas around the head; if important strands disappear or a colored fringe remains, the result may need manual refinement.
A pale fringe or remnants of the original scene may be difficult to see against white. Preview the cutout on the actual destination color to reveal edge problems before you place it in a finished design.
It depends on the photo and how the shadow relates to the subject. Check whether the shadow remains, disappears, or needs to be recreated so the subject sits naturally in its new setting.
It can be enough when the outline looks clean at the size and on the background you intend to use. For glass, fine hair, or a complex composite, treat the bg eraser output as a starting point and assess whether further editing is needed.